Plotting Merger Trees
Some relatively simple visualizations of merger trees can be made with
the TreePlot command.
Additional Dependencies
Making merger tree plots with ytree requires the
pydot and
graphviz packages. pydot can be
installed with pip and the
graphviz website provides a number
of installation options.
Making Tree Plots
The TreePlot command can be
used to create a digraph
depicting halos as filled circles with sizes proportional to their mass.
The main progenitor line will be colored red.
>>> import ytree
>>> a = ytree.load("ahf_halos/snap_N64L16_000.parameter",
...                hubble_constant=0.7)
>>> p = ytree.TreePlot(a[0], dot_kwargs={'rankdir': 'LR', 'size': '"12,4"'})
>>> p.save('tree.png')

Plot Modifications
Four TreePlot attributes can be set
to modify the default plotting behavior. These are:
size_field: The field to determine the size of each circle. Default: ‘mass’.size_log: Whether to scale circle sizes based on log of size field. Default: True.min_mass: The minimum halo mass to be included in the plot. If given as a float, units are assumed to be Msun. Default: None.min_mass_ratio: The minimum ratio between a halo’s mass and the mass of the main halo to be included in the plot. Default: None.
>>> import ytree
>>> a = ytree.load("ahf_halos/snap_N64L16_000.parameter",
...                hubble_constant=0.7)
>>> p = ytree.TreePlot(a[0], dot_kwargs={'rankdir': 'LR', 'size': '"12,4"'})
>>> p.min_mass_ratio = 0.01
>>> p.save('tree_small.png')

Customizing Node Appearance
The appearance of the nodes can be customized by providing a function that
returns a dictionary of keywords that will be used to create the pydot
node. This should accept a single argument that is a
TreeNode object representing the
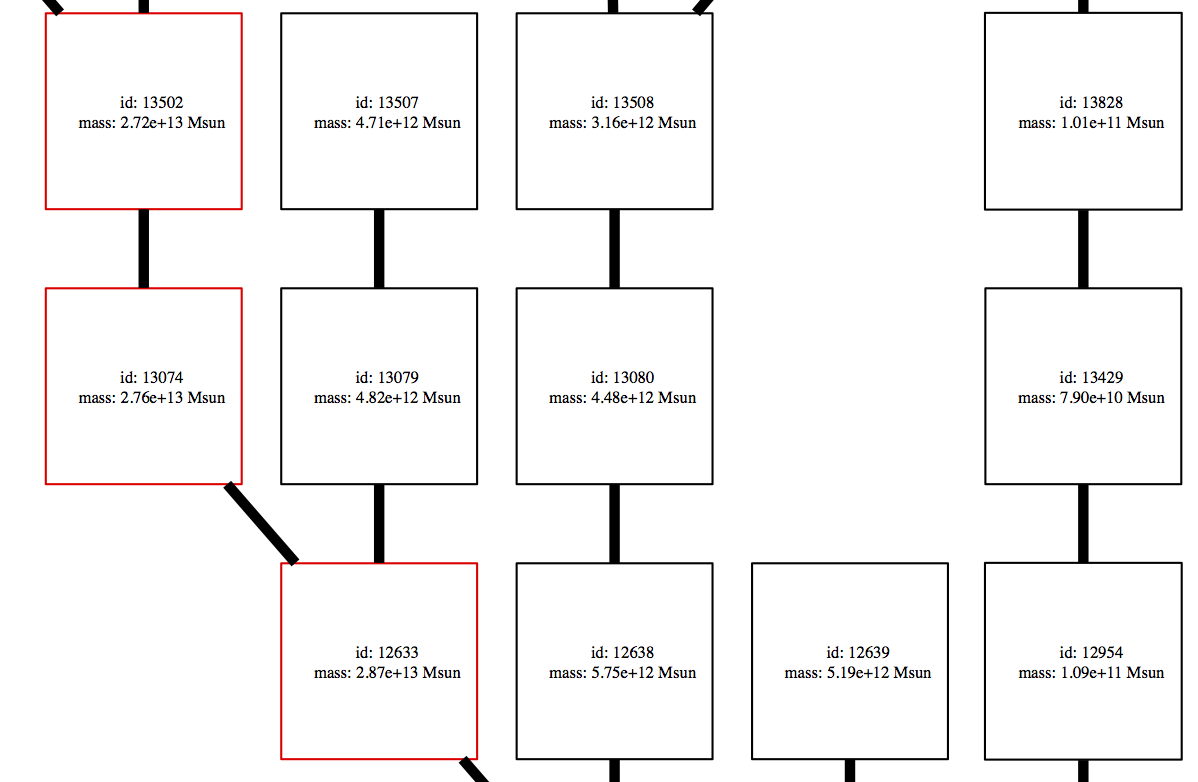
halo to be plotted. For example, the following function will add labels of
the halo id and mass and make the node shape square. It will also color
the most massive progenitor red.
def my_node(halo):
    prog = list(halo.find_root()['prog', 'uid'])
    if halo['uid'] in prog:
        color = 'red'
    else:
        color = 'black'

    label = \
    """
    id: %d
    mass: %.2e Msun
    """ % (halo['uid'], halo['mass'].to('Msun'))

    my_kwargs = {"label": label, "fontsize": 8,
                 "shape": "square", "color": color}
    return my_kwargs
This function is then provided with the node_function keyword.
>>> p = ytree.TreePlot(tree, dot_kwargs={'rankdir': "BT"},
...                    node_function=my_node)
>>> p.save('tree_custom_node.png')
Customizing Edge Appearance
The edges of the plot are the lines connecting each of the nodes. Similar to
the nodes, their appearance can be customized by providing a function that
returns a dictionary of keywords that will be used to create the pydot
edge. This should accept two
TreeNode arguments representing
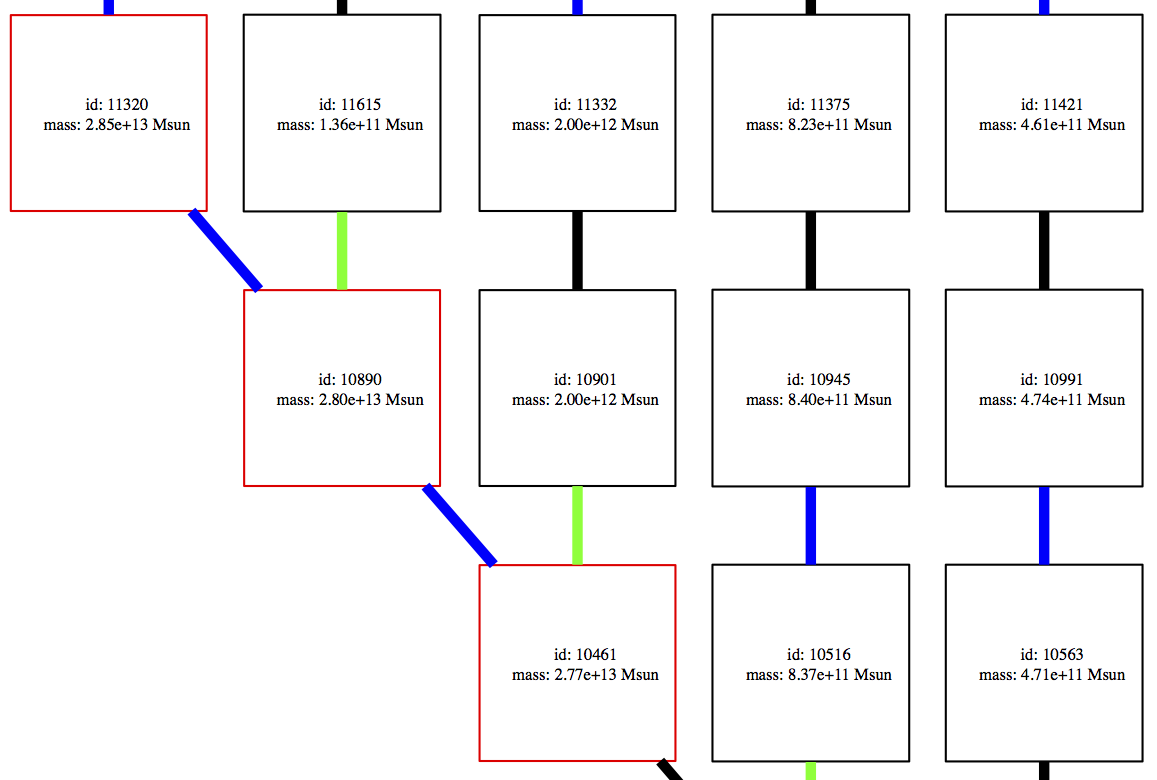
the ancestor and descendent halos being connected by the edge. The example
below colors the edges blue when the descendent is less massive than its
ancestor and green when the descendent is more than 10 times more massive
than its ancestor.
def my_edge(ancestor, descendent):
    if descendent['mass'] < ancestor['mass']:
        color = 'blue'
    elif descendent['mass'] / ancestor['mass'] > 10:
        color = 'green'
    else:
        color = 'black'

    my_kwargs = {"color": color, "penwidth": 5}
    return my_kwargs
This function is then provided with the edge_function keyword.
>>> p = ytree.TreePlot(tree, dot_kwargs={'rankdir': "BT"},
...                    node_function=my_node,
...                    edge_function=my_edge)
>>> p.save('tree_custom_edge.png')
Supported Output Formats
Plots can be saved to any format supported by graphviz by giving a
filename with the appropriate extension. See
here for a list of
currently supported formats.